
The Ultimate Wedding Dress Guide: Episode 4 - Bridal Alterations
Welcome back to the Ultimate Wedding Dress Guide Series!
Today, in part four, we will be covering one of the topics that is nearest and dearest to our hearts; bridal alterations!
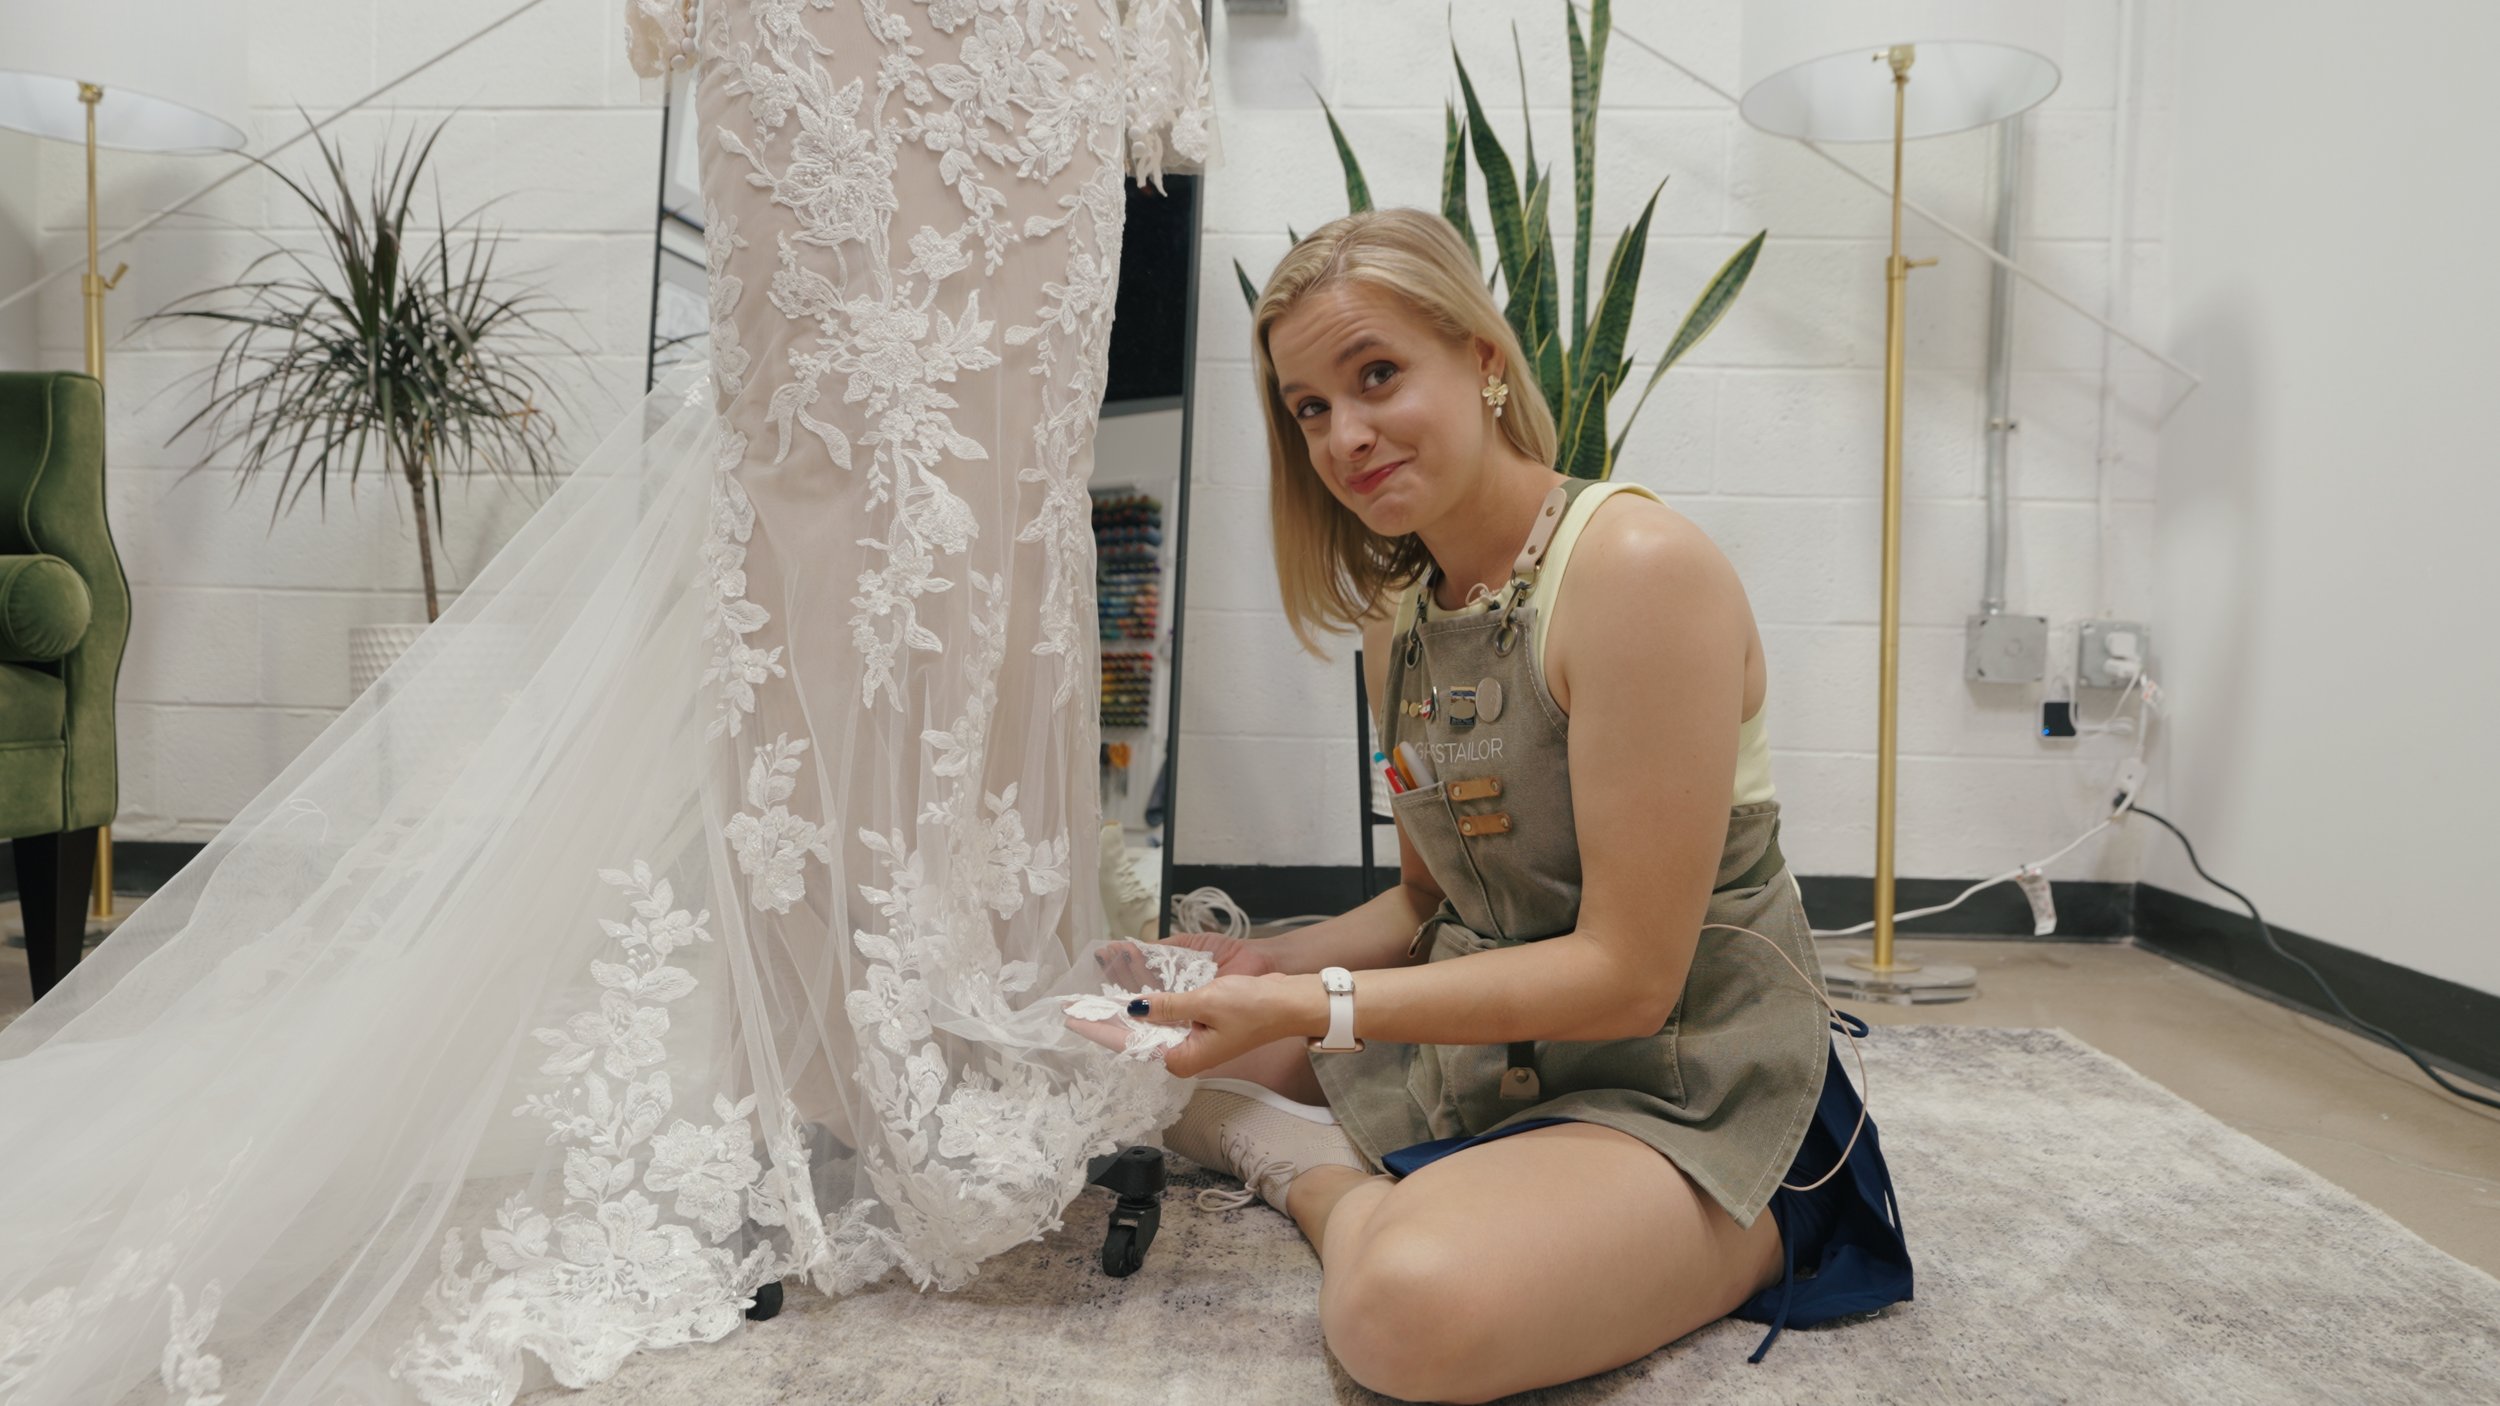
Even the sound of those words can set many brides' hearts a flutter, we know this can be a very nerve-racking part of the process. After the exhilarating and daunting task of finding your perfect dress, now it’s time to get the perfect fit, and we are here to help! Having professionals with many years and many dresses of experience is an obvious benefit, but many brides want to better understand the process of alterations themselves so today we are going to walk through each actual step that we will take during your fitting appointment and throughout the process of actually altering your dress once you have left it in our capable hands.
To begin, though all wedding dresses are incredibly unique, like many alterations we follow a very specific process, moving from each part of the dress to the next, making sure that we are confirming the fit in each area, beginning at the top of the dress and moving down to the floor and finally back to the train.
Beginning up around your shoulders, straps, and/or sleeves in addition to the fit around your chest and waist, we can start to get a feel for where the dress should sit and how the dress should fit when it is comfortable and secure.
We'll begin by pinning up the shoulders and straps, and then move down to the bust area, fitting across the chest and around the waist so that we are confident the dress is sitting exactly where it should and that you are comfortable in it.
If the dress has sleeves, we'll move on to tapering and possibly shortening the sleeves at this point. Now is the opportunity for adding, changing, or adjusting any kind of straps or sleeves that the dress either has, or does not have, and that you envisioned. Now is your time to get creative!
If there are no other details to discuss or cover concerning the top, we will next move down through the hips. Pinning around the hips and booty can be one of the most enjoyable parts of the fitting because the bride and tailor are really getting the opportunity for the first time to see the dress properly fitting on the bride and it’s very exciting! As we pin through seams around the hips and booty, we will start moving down toward the knees, helping coax the silhouette out of the dress until it is fitting the way that you envisioned front A-line to trumpet.
Now that we’ve got everything pinned in place, it’s time to get that length correct! We'll start pinning our way through the potentially copious layers of the dress from 1 to 10, every layer will get its time! Regardless of details, from lace to satin to clean cut tulle, each fabric style has a special way to be hemmed and altered.

With the length correct and everything pinned around the body it’s time to take a stroll! This is when we walk around the shop to make sure that everything is sitting and fitting on your body the way that you had hoped, including your shoes and accessories all combined together to create your full look for your big day!The last big step if you intend to wear the same dress from ceremony to reception is, of course, the bustle.
But what is a bustle?!
This is probably one of the biggest mysteries of bridal alterations, and for good reason; bustles are not a part of our every day life in the modern day clothing that we wear so an explanation is in order.
The bustle is a network of either hooks, eyes, ribbons, loops, buttons or other fasteners that will allow us to pull up your train after the ceremony and give you more freedom of movement and function during your reception as you are becoming more active throughout the night.
The bustle can be a bit of a mystery because they are all unique to each individual dress. Most dresses do not come with a bustle already installed, that’s our job! So the tailor will need to take time to look at what works best for your dress based on the weight of the train, the fabric, how many layers will need to be pulled up, and your preference for how each bustle style looks and feels.
There are a variety of different bustle arrangements that allow the fabric to be pulled up over the dress to the waist or up underneath the dress fastened with ribbons that are hidden away until needed. The tailor will go through different options together with you until you see the one that you like, and feels right.

OK, you’re pinned up everything‘s looking and feeling just right and now it’s time to say goodbye, but just for a little while! Now we will whisk the dress off to complete all of the alterations we discussed and we can’t wait to see you in your perfect dress at your final fitting!
Check out our free work sheet below for extra tips and tricks to keep you on track throughout the process.
And join us in the video below for an in-depth walk through all the alterations discussed above with our head tailor.